How to configure PHP
Redirect to:
Shared Hosting at Acenet enables you to select from several different versions of PHP. This is useful if you want to run a PHP application requiring a different release of PHP than the default version on the server. For example, some older software may require a slightly older version of PHP.
Changing your PHP Version
1) Log into your cPanel as normal.
2) Scroll down to the "Software/Services" section and click on "Select PHP Version".
3) Choose the php version you need from the "PHP version" dropdown menu.
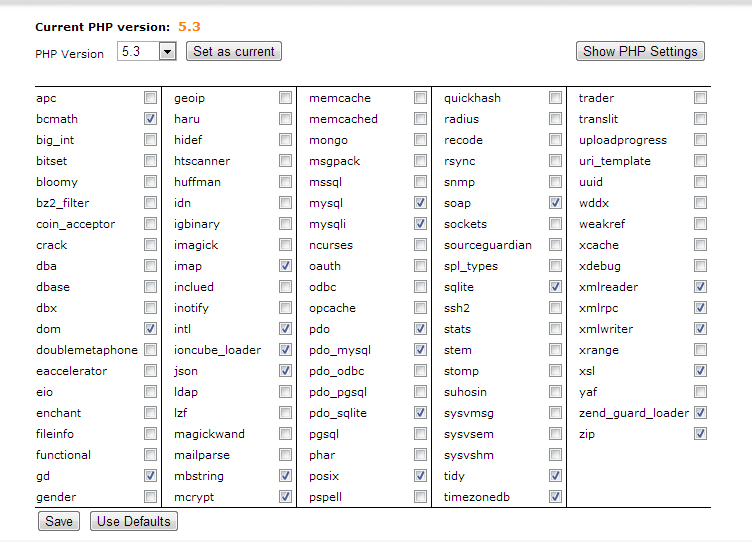
4) A list of available php extensions for that version of PHP will appear underneath. The most commonly needed modules will already be selected, but if you have specific modules that you know your software needs, you can enable them as well by selecting their checkboxes and clicking on the "SAVE" button underneath.
5) Once your php version is selected and any changes to the selected modules are saved, click on the "Set as current" button next to the PHP version dropdown menu.
Changing your php.ini settings
1) Log into your cPanel as normal.
2) Scroll down to the "Software/Services" section and click on "Select PHP Version".
3) If the "PHP Version" is set to Native, Choose the php version you need from the "PHP version" dropdown menu and then click "Set as Current".
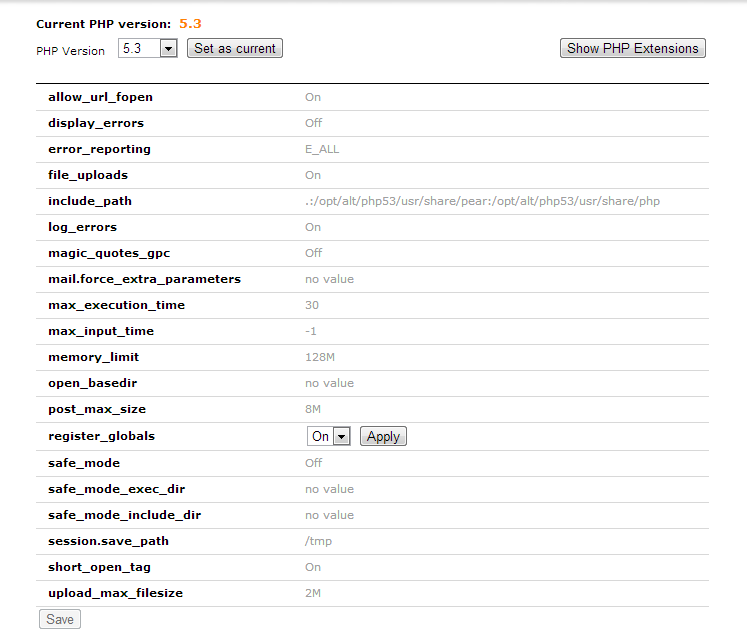
4) click on the Show PHP Settings button in the upper right of the selector screen.
5) This shows the most commonly edited account-wide PHP settings. Click on the grey value to the right, and you will either see a dialog field or a drop down box. Make the changes as needed, and then click apply. When done, click the save button at the bottom.
That's it! Your account is now set to use the version of php that you chose.

