R1Soft User Restore Files
What is R1Soft CDP?
R1Soft CDP (Continuous Data Protection) is a backup server that backs up various agent servers at the block level, bypassing the file system and reading data directly from the disk or volume.
Block-level backup provides considerable advantages over traditional backup technologies, including shortened backup windows and a drastic reduction in disk and network I/O, allowing users to perform backups as often as every 15 minutes with no performance penalty.
How to Restore Files with your R1Soft Login
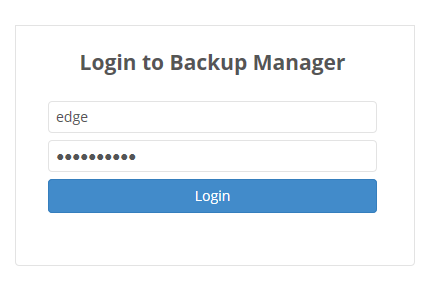
1) Visit the URL that was given to you with the R1Soft login. Enter your Username and Password on the web page, and hit the Login button.
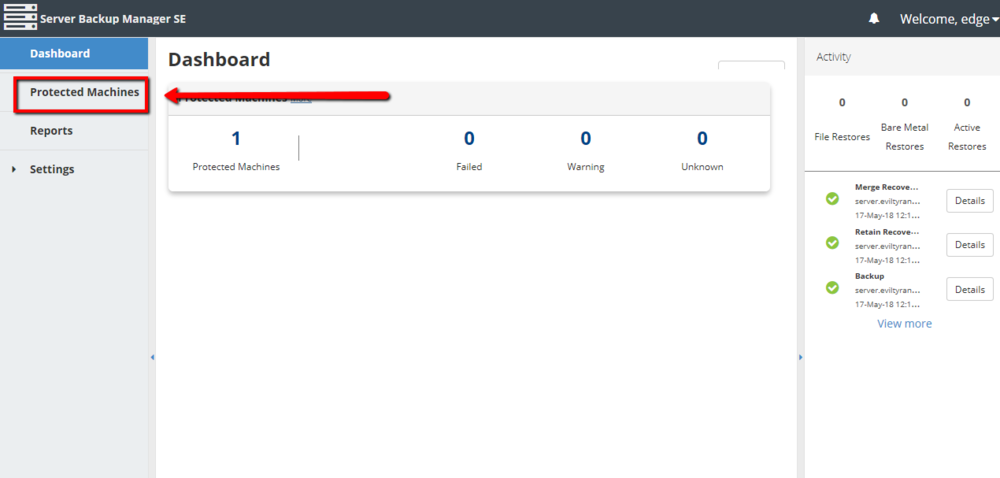
2) Once you are logged in, you will be presented with a Dashboard, showing the number of Protected Servers, any errors or warning, and a short list of recent activity on the right. To look at your server on this backup server, click on Protected Machines on the left toolbar.
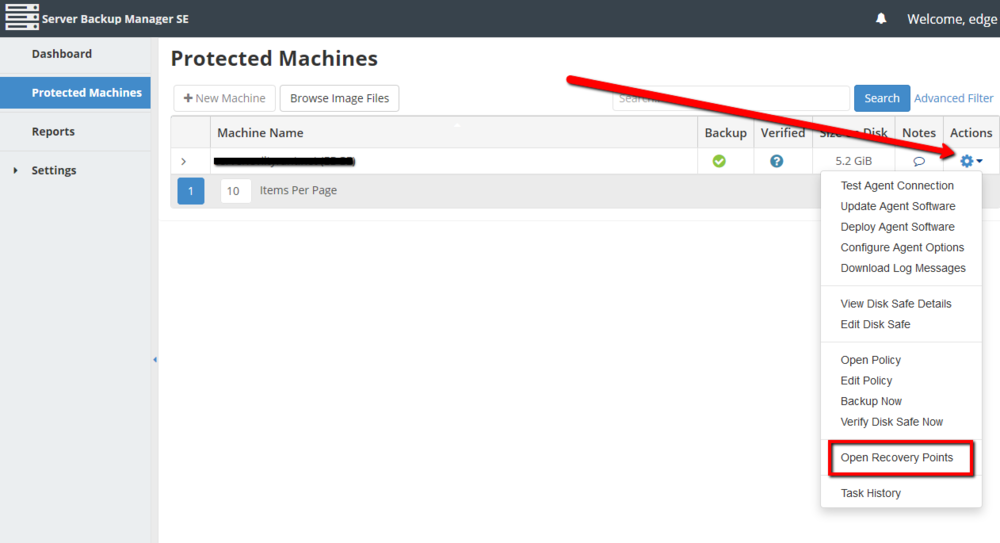
3) You will be presented a list of your servers that are on this backup server. If you have more than one server on this backup server, they will all be listed here.

4) To the right of the line your server is on, click the dropdown arrow to the right of the gear icon under Actions. You will be presented with a list of actions, most of which you will never need to use. To view the backups available for your server, click Open Recover Points.
5) Choose one of the available backups listed, and click the dropdown arrow to the right of the gear icon under Actions. Click Browse to select files to restore. Select Browse Databases to select a database to restore.
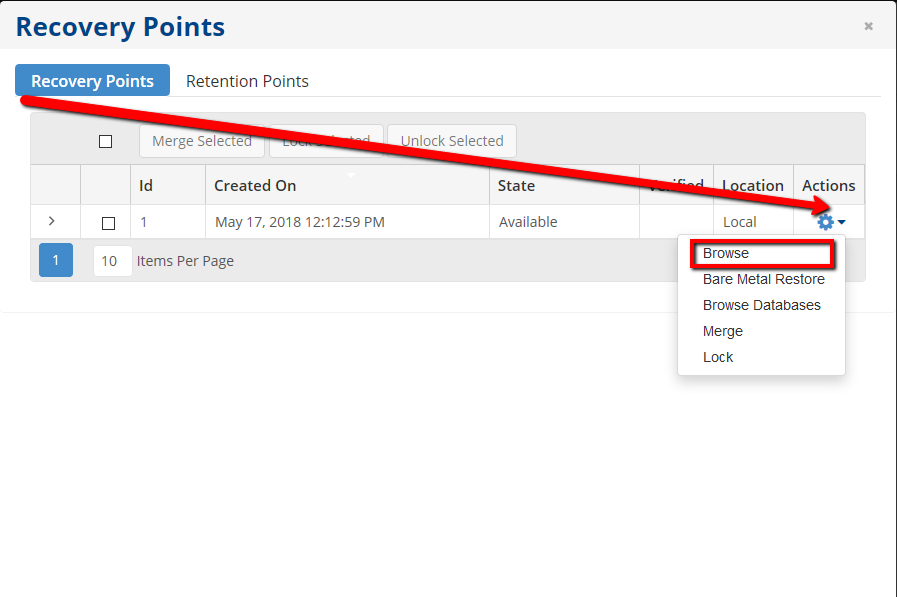
Restoring site files
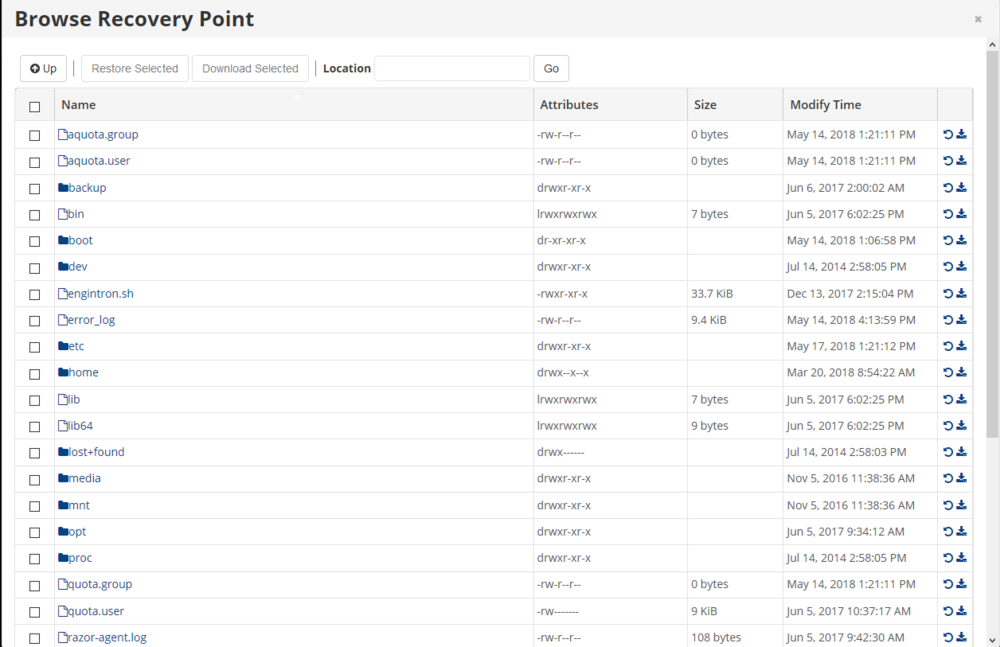
1) You will be presented with a tree view of the files and folders on your server. You can browse through the tree by double clicking folders.
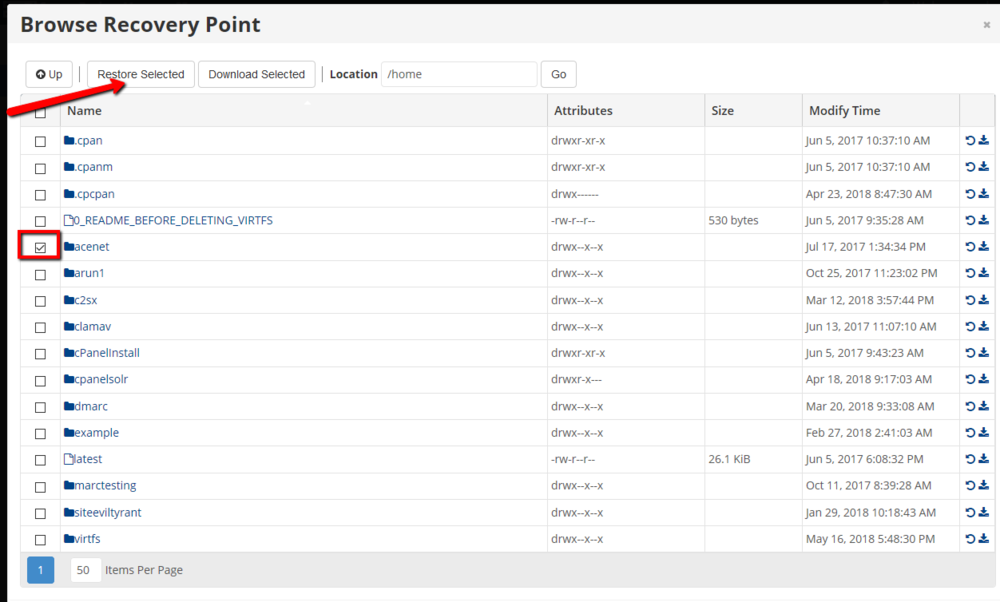
2) Select the files or directory to restore by checking the box tot he right of the item, and then click on the Restore Selected button at the top. in this example, the entire acenet home directory is being restored.
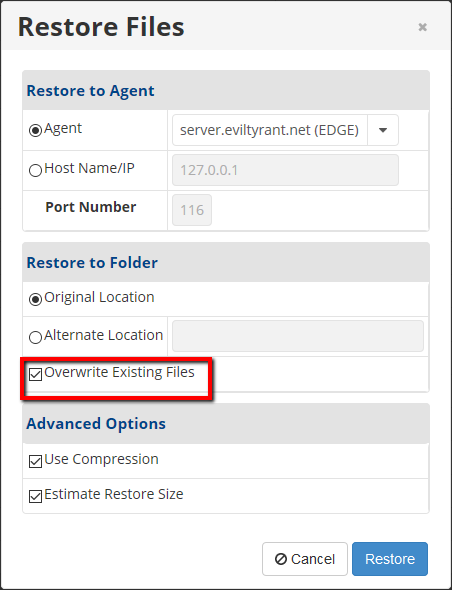
8) You will be presented a dialog box with a few options. Most often, you will restore files to the original location, but you have the option to restore files to a different location by selecting Alternative Location and entering the directory to restore to.
If you are just replacing missing files, leave Overwrite Existing files unchecked.
Press the blue Restore Button at the bottom to begin restoring your files.
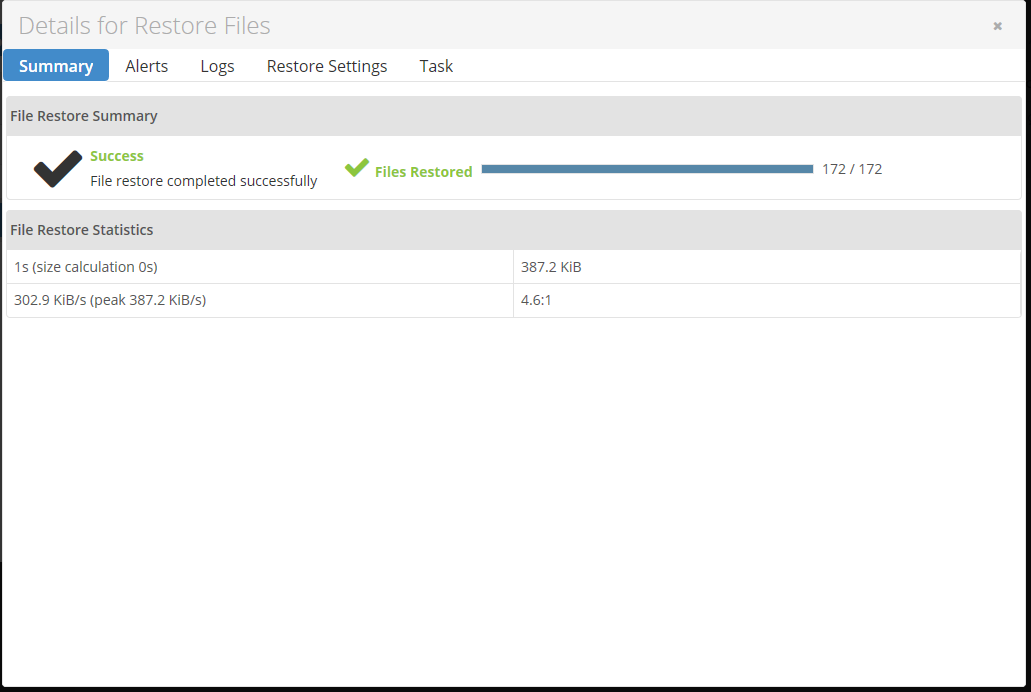
9) You will be presented with a Details box, showing the progress of your restoration. Once the restore has successfully completed, you should be all set. If you run into any errors or have any questions, please login to your Client Area and open a new Technical Support Ticket.
