Mastering SpamExperts
Congratulations on becoming spam free! Spam Experts is quite easy to use and requires very little configuration needed to get started. The default setting have been determined to work for the vast majority of users. This article will help you to get the most out of your SpamExperts subscription.
Logging into the SpamExperts Control Panel
To login as the domain manager
Logging in via cPanel gives the Admin the ability to view and change ALL settings, view the Quarantine, view Logs, and set the Whitelist and Blacklist, for the ENTIRE domain.
To gain this level of access, log into your cPanel, and go to Email -> SpamExperts. Find the domain you wish to manage, and click on the Login to the right on that same line. You will be automatically logged in, and will be at the Dashboard page.
To login to an email account
This is the only way email users can login and view/set their individual spam filtering settings. Login at https://spamlogin.com/. The first time you visit, you will need to click "Retrieve log-in link". Enter your email address and click submit, and you will receive instructions for setting a personal password.
Automatic Discovery and Quarantine Reports
The first thing we suggest is enabling the Daily Spam Quarantine Reports for all recipients. This will discover all email addresses on your domain, and send each of your mailbox users a daily email, in either PDF or HTML format, of all email that has been quarantined. Users can check this email daily for any messages that should NOT have been blocked, and they can Release the emails for immediate delivery with a click of the mouse. There may also be an option to "Release and Train" some email message. This tells SpamExperts that the message is not spam, and that the mail filter should learn the characteristics of the message to let similar messages through in the future.
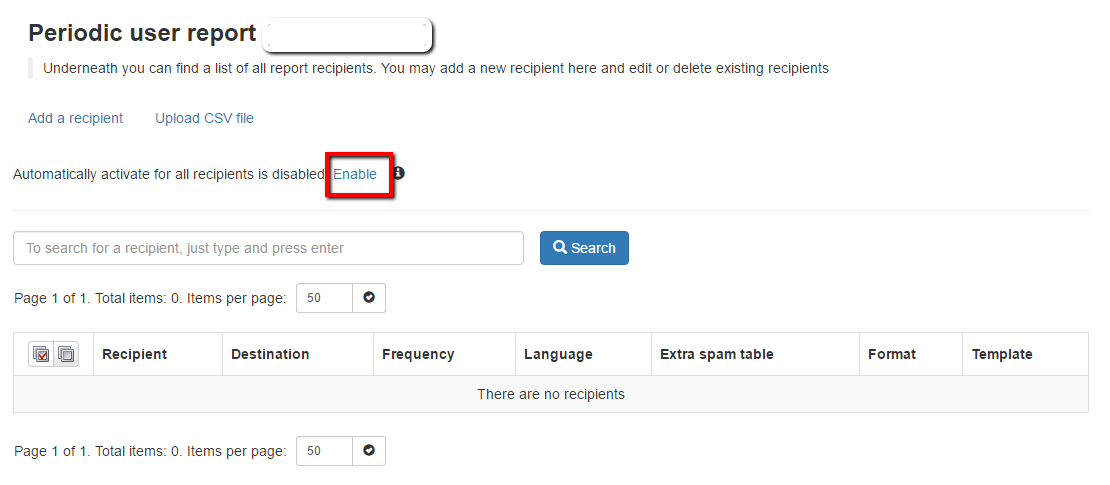
To enable the Daily Spam Quarantine Report for EVERY user, just click "Periodic User Report" from the left-side menu, then click "Enable" (see screen shot below). As the system starts to learn your active users, you can change the format (PDF or HTML). You could also add individual users by clicking the "Add a recipient" link, or by uploading a CSV file of email addresses by using the "Upload CSV File" link.

